Exploring Creativity Through Outdoor Adventure: Nature Crafts for Kids
6 June 2026
Ah, nature—the original playground for kids (and a perfect excuse for parents to push them outside while sipping coffee in peace). If you’ve ever seen your child turn a stick into a magic wand or a pile of leaves into a superhero cape, your little Picasso is already onto something.
So why not take their imagination a step further with some outdoor nature crafts? Not only do they get to enjoy fresh air and sunshine, but you'll also save money on craft supplies. After all, Mother Nature provides endless free materials.
Let’s dig into some fun, creative, and slightly messy ways to turn twigs, leaves, and rocks into masterpieces—because, let’s face it, kids + dirt = happiness. 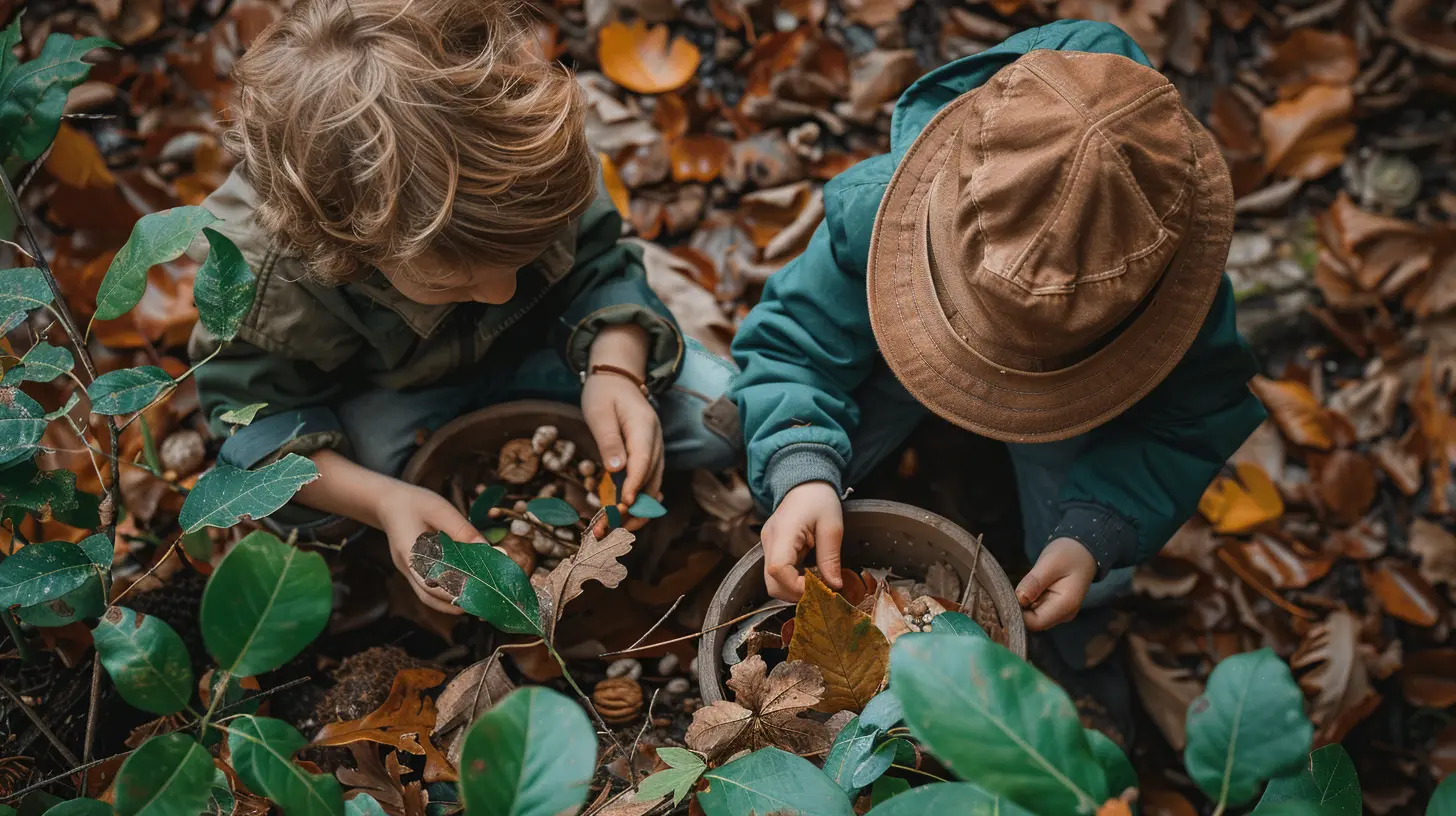
Why Nature Crafts? (Because Screens Can Wait)
Before we jump into the fun, let’s talk about why nature crafts are awesome:✅ Gets kids moving – Running around collecting sticks beats sitting on the couch watching yet another episode of that one show they refuse to stop replaying.
✅ Boosts creativity – Nothing sparks the imagination like turning pinecones into hedgehogs or leaves into butterflies.
✅ Sensory play – Touching, smelling, and even listening to nature (yes, leaves crunch a certain way!) help kids engage their senses.
✅ Eco-friendly & budget-friendly – Free craft materials? Sign me up!
Now that we’ve justified this adventure as educational (wink, wink), let’s get to the fun part—craft time! 
1. Leaf Art: Mother Nature’s Coloring Book
Let’s be honest. Kids love collecting random things from the ground (hello, pockets full of acorns). Put their hoarding tendencies to good use with these leaf-inspired crafts.? Leaf Rubbings (Because Paint Gets Everywhere)
Instead of letting them finger-paint the walls, try good old-fashioned leaf rubbings.What You Need:
- Leaves (dry ones work best)
- Crayons
- Paper
How to Do It:
1. Place a leaf under a sheet of paper.
2. Rub a crayon over the paper to reveal the leaf’s shape and veins.
3. Admire the magic!
This is also a sneaky way to teach them about different tree species—because parenting wins feel good.
? Leaf Creatures (Like Finger Puppets, But Fancier)
Leaves make the perfect canvas for goofy little creatures.What You Need:
- Leaves of different shapes
- Googly eyes
- Glue
- Markers
How to Do It:
1. Glue googly eyes onto the leaves.
2. Draw silly faces, arms, or legs.
3. Bonus: Let the leaves “talk” in silly voices for added entertainment.
Congrats! You’ve just created an army of leafy friends. 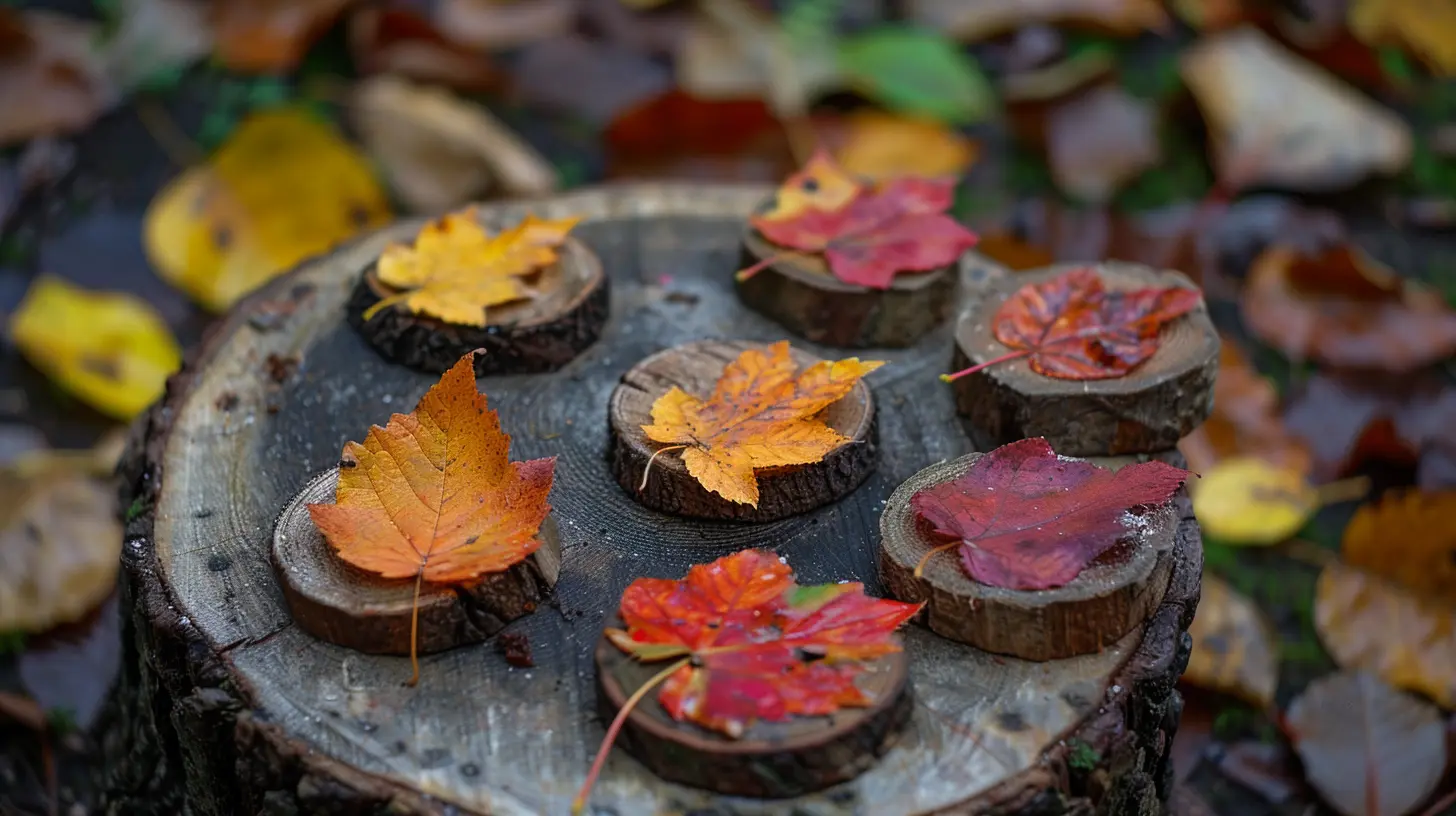
2. Stick & Twig Crafts: The OG Building Blocks
Sticks: simple, sturdy, and way more affordable than plastic building sets.? Mini Stick Rafts (A Rainy-Day Experiment)
Who doesn’t love a good ol’ floating challenge?What You Need:
- Small sticks
- Twine or yarn
- Hot glue (for impatient kids)
- A tub of water (or a puddle)
How to Do It:
1. Line up small sticks to create a raft base.
2. Tie them together with twine (or hot glue if patience runs thin).
3. Test its floating skills in water.
Warning: This may lead to a full-fledged boat race in the backyard.
? DIY Twig Picture Frames (For Their “Masterpiece” Drawings)
Instead of buying another dollar-store frame, create one from nature!What You Need:
- 4 sturdy twigs
- Twine or ribbon
- Glue
- A cute kid’s drawing (optional but recommended)
How to Do It:
1. Arrange the twigs into a frame shape.
2. Tie or glue the corners together.
3. Tape their drawing behind it.
Boom! Rustic décor courtesy of your little artist. 
3. Rock & Pebble Art: Because Kids Love Collecting Rocks
Ever found a handful of rocks in your laundry? Put those prized possessions to creative use.? Rock Painting (AKA The Ultimate Quiet-Time Activity)
What You Need:- Smooth rocks
- Paint
- Brushes
- Markers
How to Do It:
1. Have kids paint designs, faces, or patterns on the rocks.
2. Let them dry, then use markers for details.
3. Bonus: Hide them in the garden for a little rock hunt!
Parent Hack: If you write encouraging messages on them, you can pretend this was an intentional kindness-spreading project.
? Pebble Fairy Houses (Because Fairies Need Homes Too)
Tiny stones? Perfect for building magical fairy houses.What You Need:
- Small pebbles
- Glue
- Leaves, twigs, or moss
How to Do It:
1. Glue pebbles together to create little walls.
2. Use leaves or moss for roofs.
3. Set them in the garden for any potential fairy visitors.
Who knows? Maybe the Tooth Fairy will be impressed and leave an extra dollar next time.
4. Pinecone Fun: Nature’s Own Craft Supply
Pinecones: They’re everywhere, they’re free, and they scream craft potential.? Pinecone Hedgehogs (Cuteness Overload)
What You Need:- Pinecones
- Brown clay
- Googly eyes
How to Do It:
1. Attach a ball of clay to the wider end of the pinecone for the face.
2. Stick on googly eyes and shape a tiny nose.
3. Name it something adorable—like Mr. Prickles.
? Pinecone Ornaments (Because Holiday Prep Starts Now)
Why wait for December?What You Need:
- Pinecones
- Paint or glitter
- String
How to Do It:
1. Paint the pinecones or sprinkle glitter over them.
2. Tie a string on top for hanging.
Tada! Homemade ornaments before the holiday chaos even begins.
Encouraging Creativity Through Nature
Crafting outdoors isn't just about keeping kids busy (though let’s be real, that’s a major perk). It’s about letting them slow down and notice the world around them. The textures, colors, and shapes of nature are an art studio waiting to be explored.So, grab a bucket, head outside, and let the little artists go wild. Who knows? You might just end up with a fridge covered in nature-inspired masterpieces.
And hey, at least nature crafts don’t involve glitter stuck to your carpet for the next decade.
all images in this post were generated using AI tools
Category:
Encouraging CreativityAuthor:

Noah Sawyer
Discussion
rate this article
1 comments
Melissa Walker
This article brilliantly highlights the importance of outdoor adventures in fostering creativity. Nature crafts not only engage children's imaginations but also connect them with their environment, promoting exploration and hands-on learning in a fun way.
June 12, 2026 at 3:53 AM